

Sourdough Series: Blog 2: It All Starts With a Starter
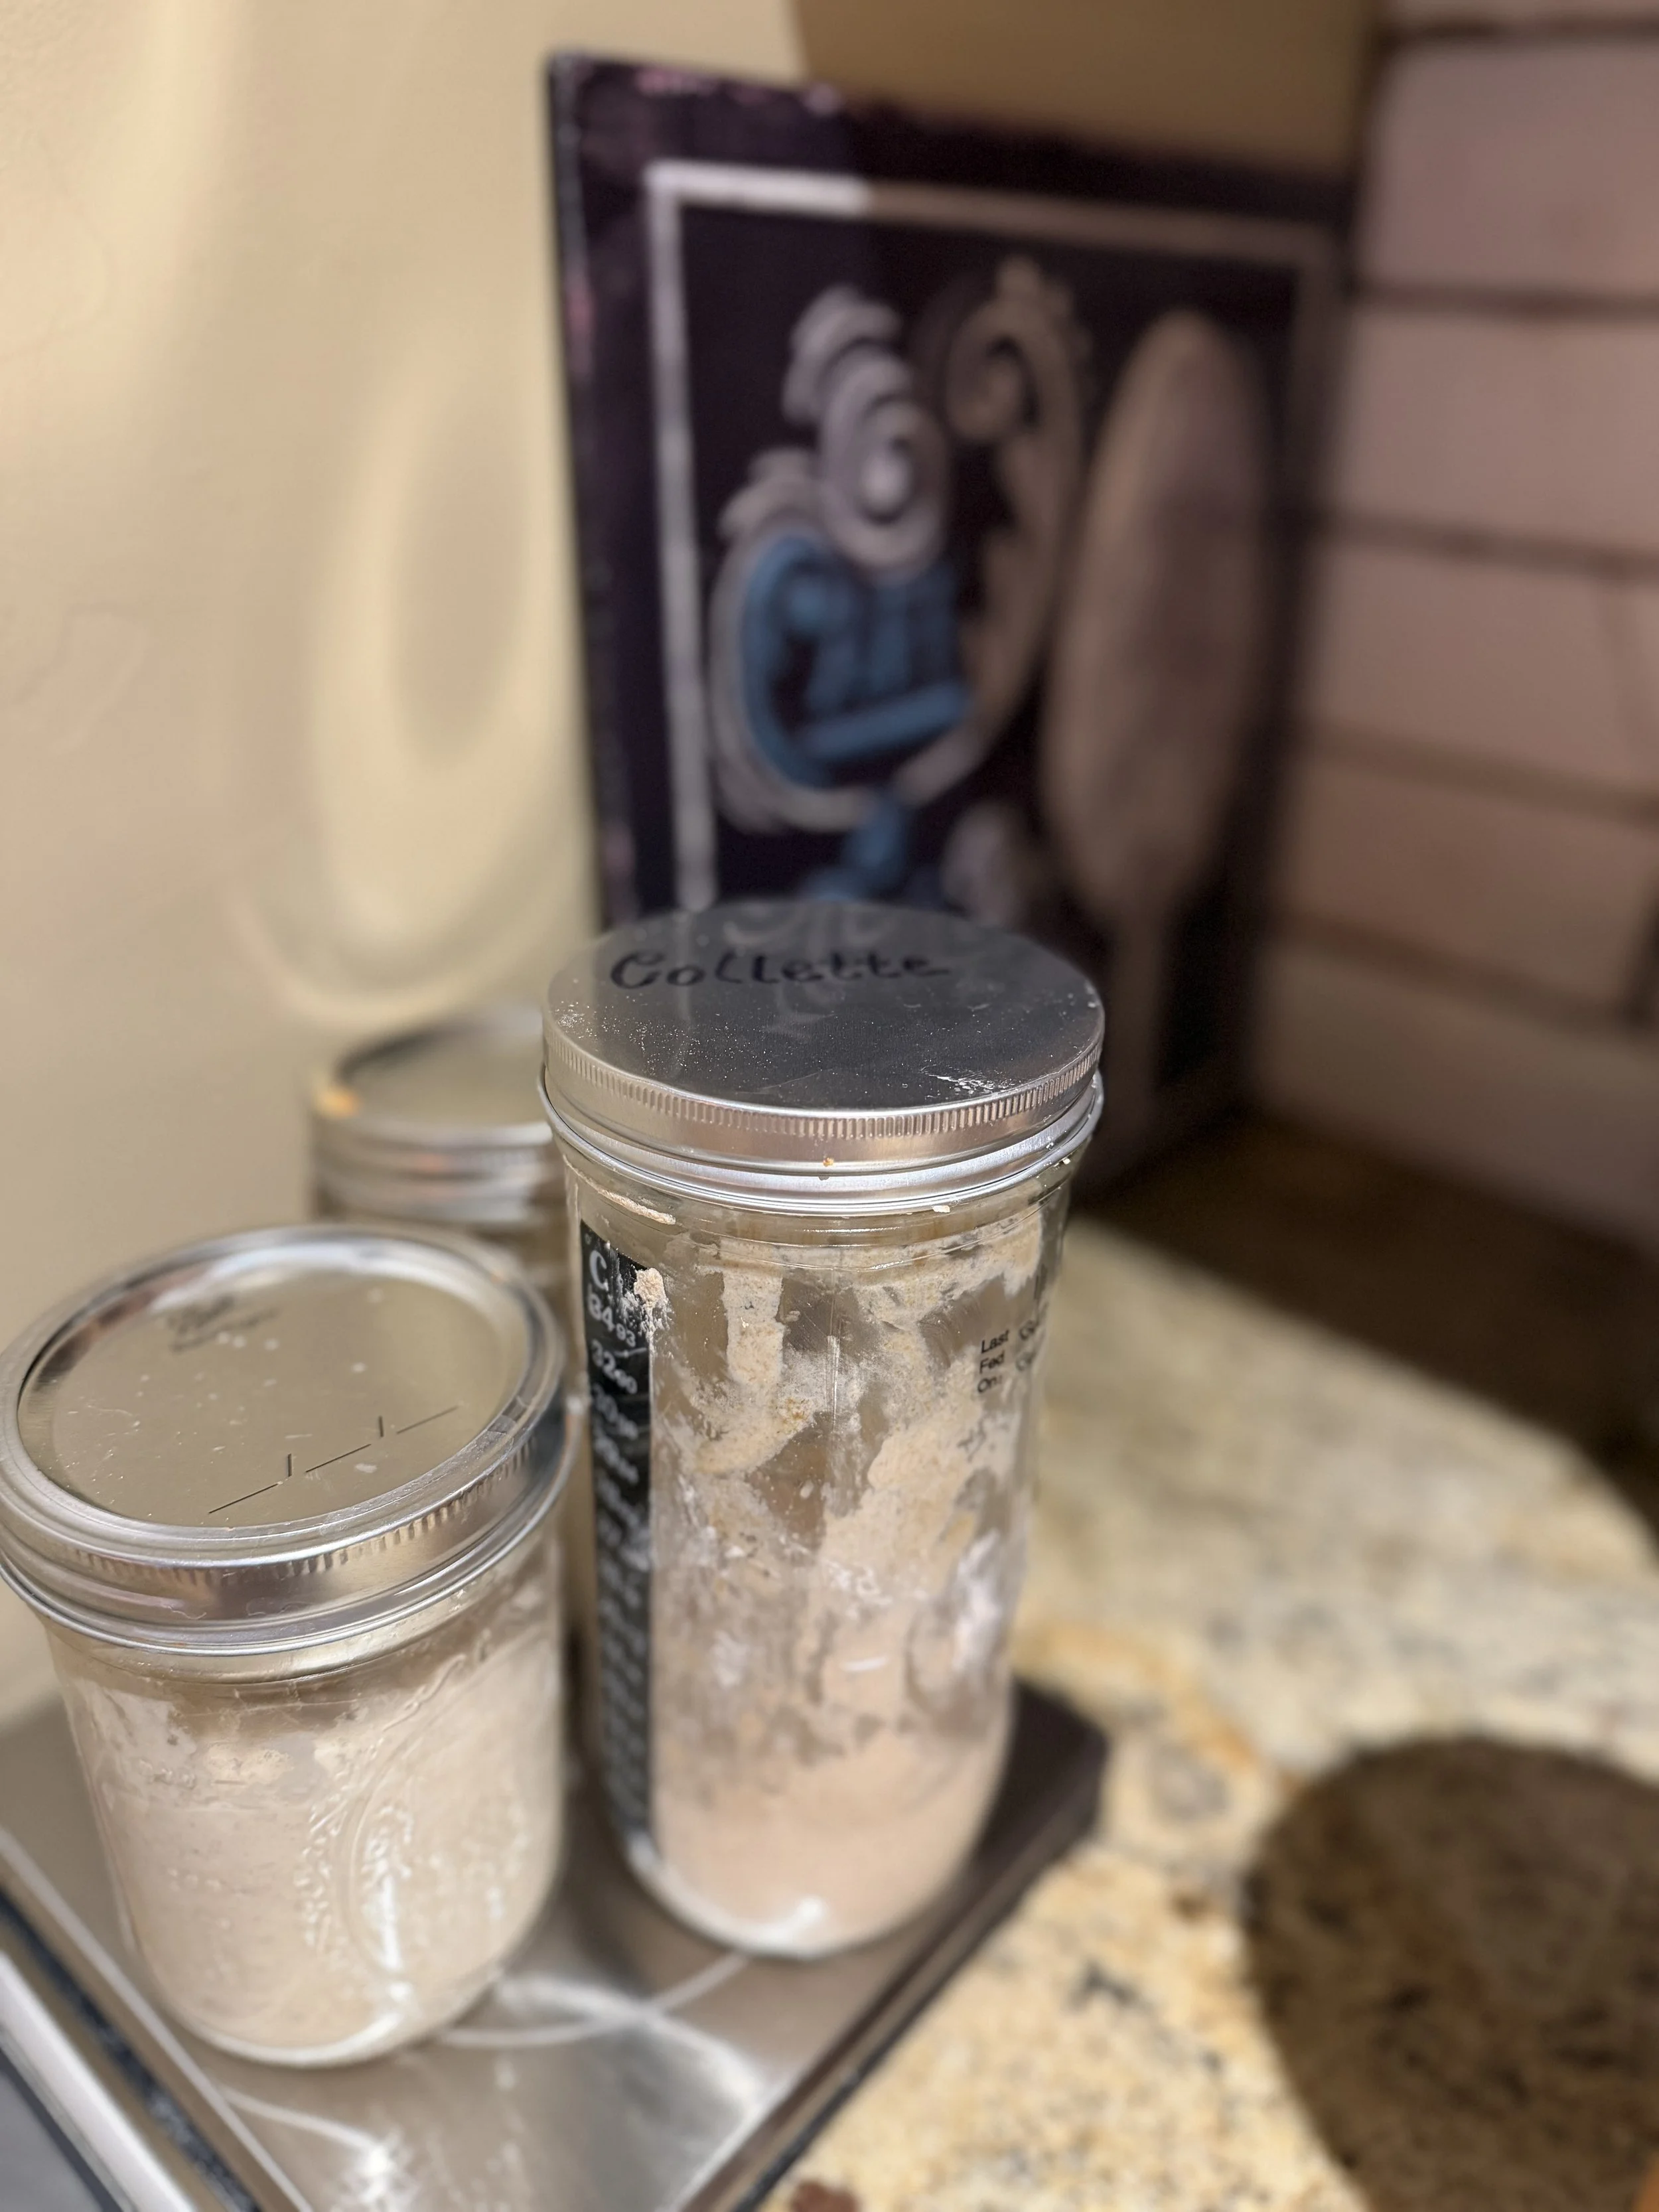
The first step is your sourdough starter. There are a couple of ways you can go about getting your starter
You can buy it
You can get it from a friend
You can make it from scratch
I chose option 3 because if I was going to do this sourdough thing, I wanted to really get to know each step of the process.
Getting a starter established usually takes about 10 to 14 days, although every starter is different. During that time, you'll be feeding it regularly. My routine was morning and evening so it's a bit of a commitment for those first couple of weeks.
What exactly is a sourdough starter?
A starter is simply flour and water that you allow to ferment. As it ferments, naturally occurring wild yeast and bacteria (the good kind of bacteria!) begin to grow and multiply. Once your starter is active, those microorganisms are what make your bread rise without commercial yeast. They also help create that tangy sourdough flavor.
Let’s start our starter!
Gather your supplies:
A non-reactive container such as glass crockery, stainless steel, or food-grade plastic. I use a glass jar that has a lid I can screw on loosely.
Flour
Water
A kitchen scale
A loose-fitting lid or cover
I highly recommend using a kitchen scale rather than measuring cups. Measuring ingredients by weight is much more accurate and will produce more consistent results.
Ingredients:
Flour: You can use all-purpose, bread, or whole wheat flour. I recommend starting with whole wheat flour because it contains more nutrients and naturally occurring microorganisms than refined white flour, which can help fermentation get going. Once your starter is established, you can transition to bread or all-purpose flour.
Filtered water: You don’t need to purchase special water, but I recommend using filtered water like from your refrigerator or filtered water pitcher.
Day 1:
Start with a small amount of flour and water - 30g each.
Combine and stir together thoroughly to make sure there are no dry floury patches at the bottom or sides of the container.
Cover loosely and let it sit for 12 hours.
After 12 hours, repeat the feeding.
Remove all starter from your jar.
Put the empty jar on the scale and put in equal amounts of starter, flour, and water. 25-30g is enough.
Discard unused starter.
Day 2 - 10:
Remove all the starter from your jar.
Put the empty jar on the scale and put in equal amounts of starter, flour, and water. 25-30g of each is enough.
Discard unused starter.
Do this twice - 12 hours apart.
Continue this until you begin seeing bubbles throughout the mixture. After feeding, it should rise in the jar and then fall again as it uses up the food (fresh flour and water). Ideally, it should double within about 4–8 hours after feeding.
Tip: Put a rubber band around the jar at the level of the starter immediately after feeding it. It makes it easy to see how much it has grown.
How to know when your starter is ready:
Your starter should reliably double in size after feeding not just once, but after at least two consecutive feedings. You should see bubbles throughout the starter, not just on top, and it should smell pleasantly fermented — tangy, yeasty, and maybe a little fruity. If it still smells mostly like wet flour, give it more time.
Maintaining your starter
I keep my starter in the refrigerator when I'm not baking. About once a week, I take it out and feed it with equal amounts of starter, flour and water, usually 25–30g of each. I let it sit at room temperature long enough for fermentation to get started, then put it back in the refrigerator.
Preparing your starter for baking
Your starter needs to be active and ready to go before you start making bread. I feed mine between 1 and 3 times, 12 hours apart to ensure it has at least doubled in size and is bubbly throughout. You may need more feedings depending on the strength of your starter and the temperature of your kitchen.
Naming your starter
Apparently, sourdough starters need names. I didn't get it at first, and mine went unnamed for a while. But after feeding something every day, checking on it and nurturing it, I began to understand why.
Inspired by my love of French cooking, I named her Colette. It sounded like a person I'd trust with bread - quietly competent, warm, patient and a little lived-in.
